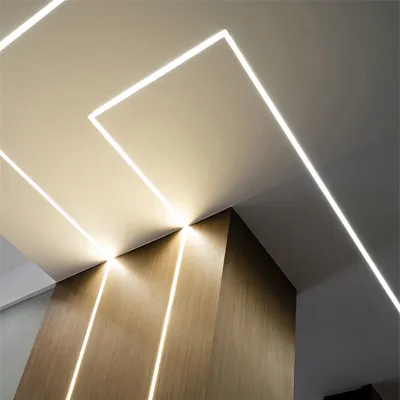
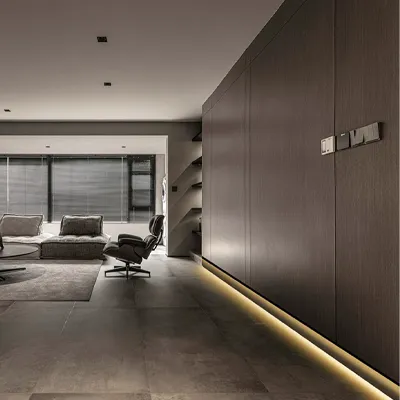


Integrated architectural lighting is a rising trend in modern design. Among the most elegant innovations are LED Skirting Boards. However, the final quality and stability of these products are not accidental. They are the direct result of a meticulous manufacturing process. The journey from aluminum to ambiance involves precision engineering, careful material selection, and rigorous testing. This article will take you "behind the scenes" to see how manufacturers create a perfect LED skirting board.
Part 1: Blueprint and Raw Materials
Stage 1: Design and Material Selection
Above all, every great product begins with a thoughtful design and premium materials. This foundational stage is arguably the most important, as it determines the product's ultimate performance, durability, and appearance.
The Blueprint: Engineering for Light and Life
Firstly, the process starts not with metal, but with a detailed engineering blueprint. This goes far beyond just the shape. A quality design considers three critical pillars:
- Optical Design: Engineers meticulously plan the internal structure of the channel. For instance, they calculate the precise angle of the walls and the exact distance between the LED strip and the diffuser. The goal is to achieve an optimal, glare-free light that is both beautiful and visually comfortable.
- Structural Design: The profile must be robust. Therefore, the design ensures it can withstand daily impacts from feet and vacuum cleaners. Moreover, it includes features like click-on diffusers and easy-to-use mounting channels to make installation simple and secure.
- Thermal Design: The blueprint also incorporates features for heat management, like subtle fins or a wider base, to help dissipate heat from the LEDs.
The Core Materials:
Subsequently, with a solid blueprint, the right materials are chosen. The two most critical components are the profile body and the light engine.
- High-grade aluminum is the undisputed industry standard. It is chosen for its excellent thermal conductivity. And, it acts as a fantastic heat sink, drawing heat away from the sensitive LEDs to ensure a long life. Furthermore, it offers a great combination of strength and light weight.
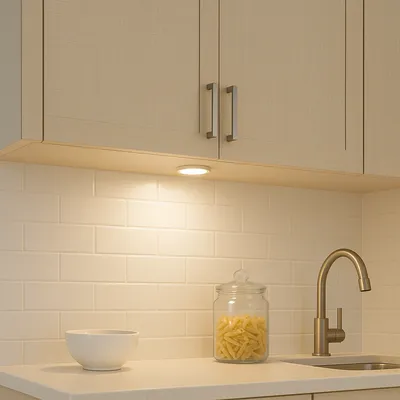
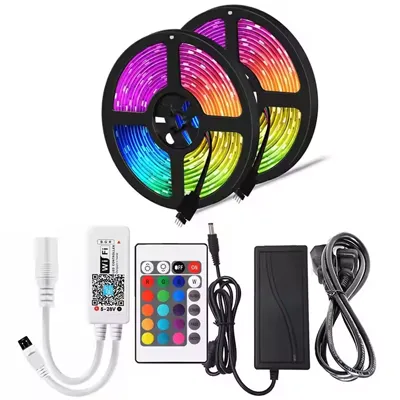
- The choice of LED strip technology is crucial. For example, a COB LED strip is often selected for high-end applications where a completely seamless, uniform line of light is desired. On the other hand, a powerful and cost-effective SMD LED strip might be chosen for its ability to deliver maximum brightness.
 Test")
Part 2: The Creation - Shaping and Finishing the Profile
Once the design is finalized and materials are selected, the physical creation of the profile begins. This is where raw aluminum is transformed into a precision-engineered component.
Stage 2: Aluminum Extrusion
The process used to shape the aluminum is called extrusion. In simple terms, a solid, cylindrical billet of aluminum is heated to a high temperature (around 500°C / 930°F). Then, it is forced under immense hydraulic pressure through a hardened steel die. This die is the master template, precision-cut into the exact cross-section of the skirting board profile.
As the aluminum profile emerges from the die, it is carefully cooled on a run-out table to ensure it remains perfectly straight. Precise control of temperature and pressure is certainly critical at this stage. Any deviation can result in dimensional inaccuracies or a flawed surface finish.
Stage 3: Surface Treatment and Finishing
After extrusion and cooling, the raw aluminum profile undergoes a surface treatment. This is done for both aesthetic appeal and, most importantly, for enhanced durability and corrosion resistance. Common finishing options include:
- Anodizing: This is an electrochemical process that creates a very hard, durable, and corrosion-resistant oxide layer on the aluminum. It results in a classic, modern metallic look and is available in finishes like satin, brushed, or mirror.
- Powder Coating: For a decorative finish, a dry powder is electrostatically applied and then cured under heat. This forms a hard finish that is tougher than conventional paint. It is perfect for creating white profiles that blend with walls or bold black profiles for a high-contrast look.
- Advanced Finishes: For high-end commercial applications, more advanced finishes like PVD (Physical Vapor Deposition) may be used to achieve ultimate durability and specific color tones.


Part 3: The Assembly - Integrating Light and Technology
This is where the precision-made profile is transformed from a simple piece of metal into an advanced lighting fixture. This stage requires a clean environment and meticulous attention to detail.
Stage 4: LED Strip Assembly
Firstly, the LED strip is cut to the exact length required for the profile. The internal surface of the profile's channel is then thoroughly cleaned to ensure perfect adhesion. Subsequently, the backing is peeled from the strip's high-bond adhesive tape (often a 3M VHB product), and it is carefully placed inside the channel. The power leads are then connected to the strip. For a high-quality product, this is always done with reliable solder joints, not flimsy clips, to ensure a secure and long-lasting electrical connection.

Stage 5: Integrating the Control Systems
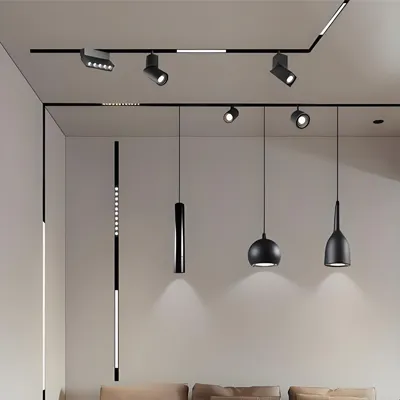
A modern LED skirting board is more than just a light; it's often a smart device. During this phase, the advanced electronic components are integrated. This can include small driver boards to regulate power consistently, control modules for features like smooth, flicker-free dimming and CCT color-tuning, and even specialized receivers for smart home protocols. For advanced applications, components like PIR motion sensors can be integrated for automated pathway lighting.
Stage 6: Final Assembly
Finally, all the components come together. The diffuser (whether opal, frosted, or clear) is carefully cut to length and snapped into place, ensuring a tight fit with no light leaks. Then, the custom-machined end caps are fitted to seal the ends for a clean, professional finish. All necessary connectors and mounting clips are kitted with the unit, making the perfect LED skirting board ready for the next crucial phase.

Part 4: The Assurance - Quality Control and Testing
A high-quality product is not just assumed; its quality is verified through a multi-stage, rigorous testing process. This is what separates premium products from the rest.
Stage 7: Multi-Point Quality Inspection
Before a product is approved for packaging, it must pass a series of detailed checks.
- Visual Inspection: Trained technicians meticulously check for any surface defects, scratches, or inconsistencies in the finish of the profile and diffuser.
- Electrical Performance Testing: The assembled unit is powered on in a lab environment. Specialized equipment, like an integrating sphere and a spectrometer, is then used to measure its actual performance. This test verifies that the brightness (lumens), power consumption (watts), color temperature (CCT), and color rendering index (CRI) all meet the exact product specifications.
Stage 8: The Burn-In (Aging) Test
This is the final and most important test of long-term reliability. The purpose of the burn-in test is to identify any potential component weaknesses or early failures before the product leaves the factory. The fully assembled LED skirting board is placed in a controlled temperature environment (an "aging room") and run continuously at full power for an extended period, for instance, 8 to 12 hours. During this time, technicians monitor for any flickering, color shifts, or dead sections that might appear under thermal stress.

A Note on Other Skirting Materials
While aluminum is the clear choice for LED skirting boards, it is helpful to understand other common materials used for traditional, non-illuminated skirting.
Material | Primary Use | Suitability for LEDs |
|---|---|---|
MDF | The standard for most painted skirting. | Poor. No heat dissipation. |
Solid Wood | High-end, traditional homes. | Poor. Poor thermal properties. |
PVC / Plastic | Bathrooms and wet areas. | Poor. Insulates heat, potential risk. |
As you can see, materials like MDF, wood, and PVC are excellent for their specific roles in traditional construction. However, they lack the essential thermal management properties of aluminum. Therefore, they are not suitable for housing LED strips, which require effective heat dissipation to ensure safety and a long lifespan.
Conclusion: The Hallmarks of a High-Quality LED Skirting Board
In conclusion, a perfect LED skirting board is the result of a dedicated and complex process. To sum up, it is a combination of premium materials like 6063-T5 aluminum, precision engineering in every step from extrusion to finishing, and rigorous quality control, including multi-point instrumental testing and a final burn-in phase. Understanding this journey from aluminum to ambiance allows a buyer to look beyond the price tag. It helps them recognize the true value, reliability, and longevity of a well-made product.
Frequently Asked Questions (Q&A)
1. Can I order a custom length or a specific color finish?
Yes, most reputable manufacturers offer customization. You can often order profiles cut to a specific length to fit your room perfectly. For powder-coated finishes, many suppliers can match a specific RAL color code to align with your interior design scheme.
2. Is the LED strip replaceable if it fails years later?
In a high-quality, well-designed LED skirting board, yes. The diffuser cover is typically designed to be removable. This allows a qualified person to access the internal channel, remove the old LED strip, and install a new one without replacing the entire aluminum profile.
3. How are inside and outside corners handled during installation?
Professionals use two main methods. The most common is using pre-fabricated corner pieces (both internal and external) that are designed to match the profile for a seamless look. Alternatively, a skilled installer can make precise 45-degree miter cuts on the profiles to create a custom corner.
4. Where does the power supply (LED driver) typically go?
The LED driver needs to be installed in a hidden but accessible and ventilated location. Common places include inside a nearby cabinet, above a drop ceiling, in a utility closet, or within a wall cavity. A low-voltage cable is then run from the driver to the starting point of the skirting board.